MRLS prep is in full swing at GWR. I wanted to post this update yesterday, but I was dead after 30 hours in the shop this weekend. Time is running out before Ryan starts his project so we tackled the splitter, ducting and bushings all in one weekend!

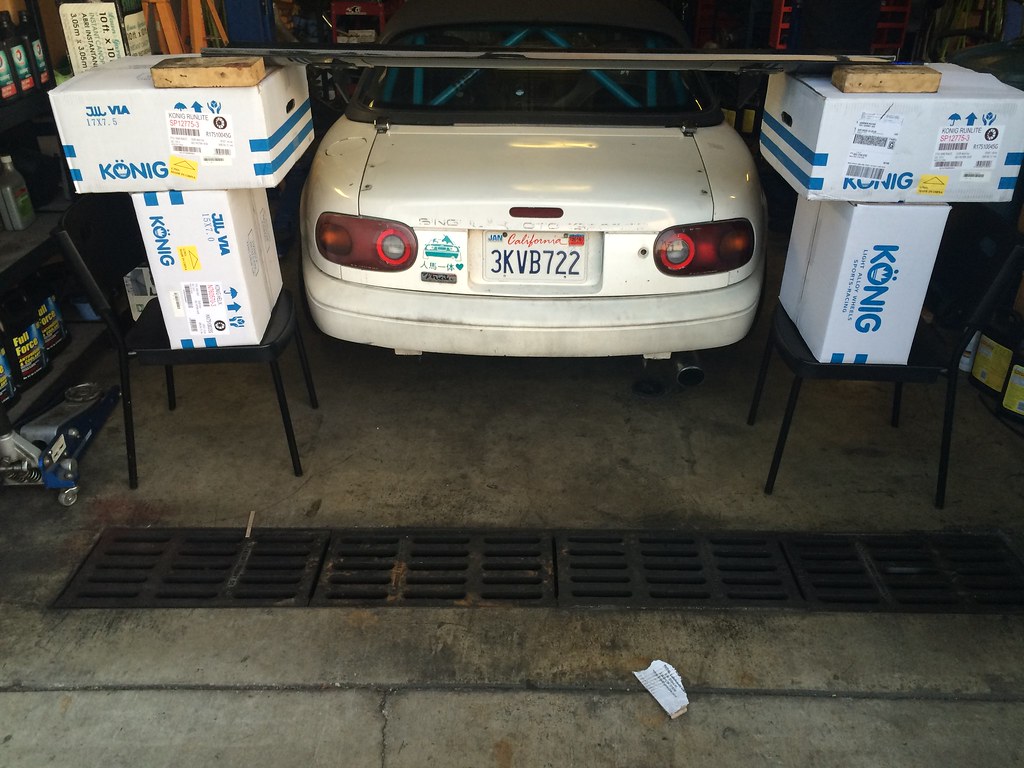
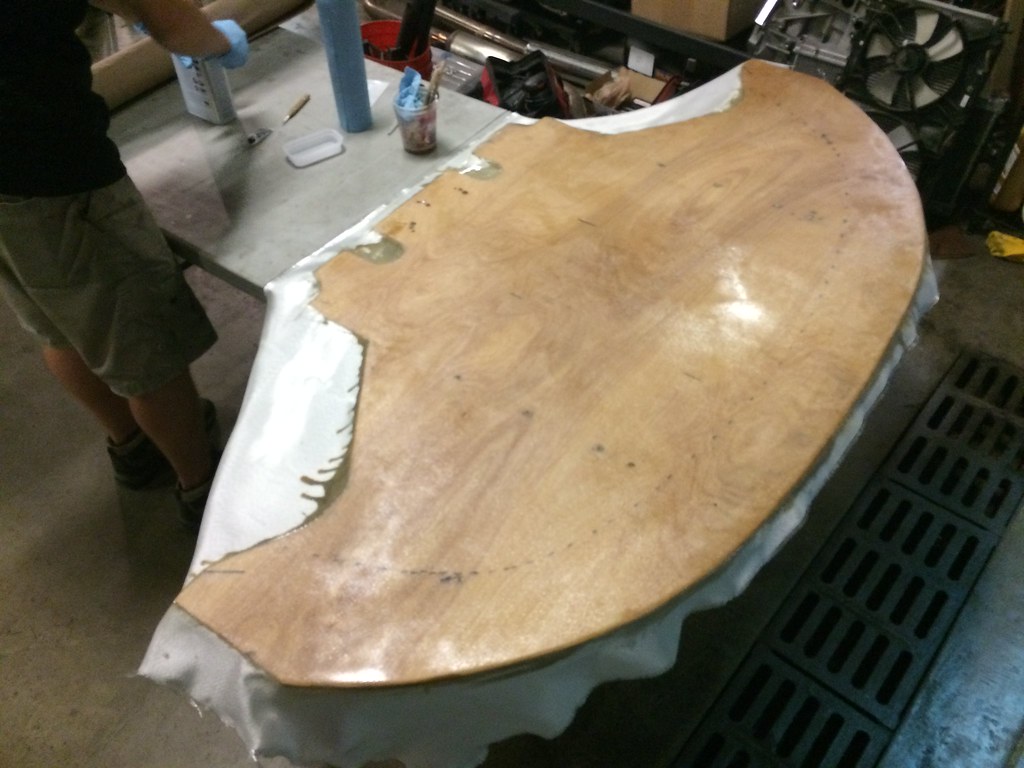
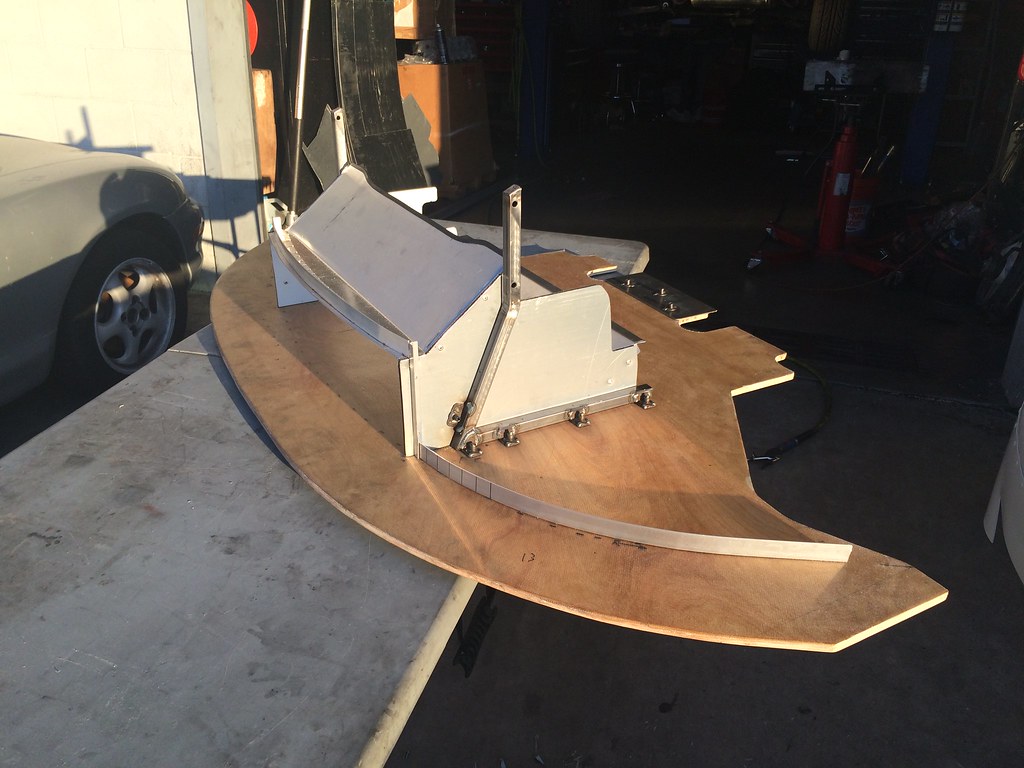
Using Ryan's old splitter as a template, he was able to make quick work of the 1/2" birch from Home Depot Motorsports. The primary goal of this splitter is build it max for street class rules in Redline Time Attack and Global Time Attack.

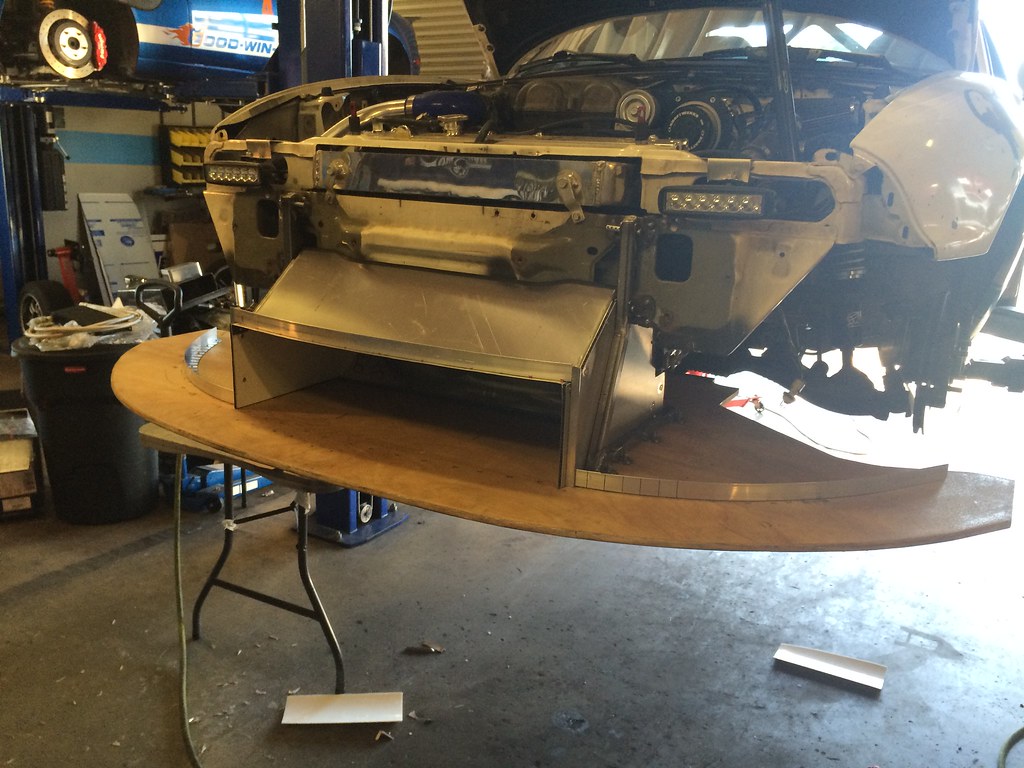
One of my requirements for the splitter was a quick removal process for trailer loading and unloading. Ryan came up with this super slick design that has weld on receivers on the car that the splitter frame attaches with two pins on each side. The back of the splitter also slots onto the subframe with a steal plate stays with the splitter for additional support.
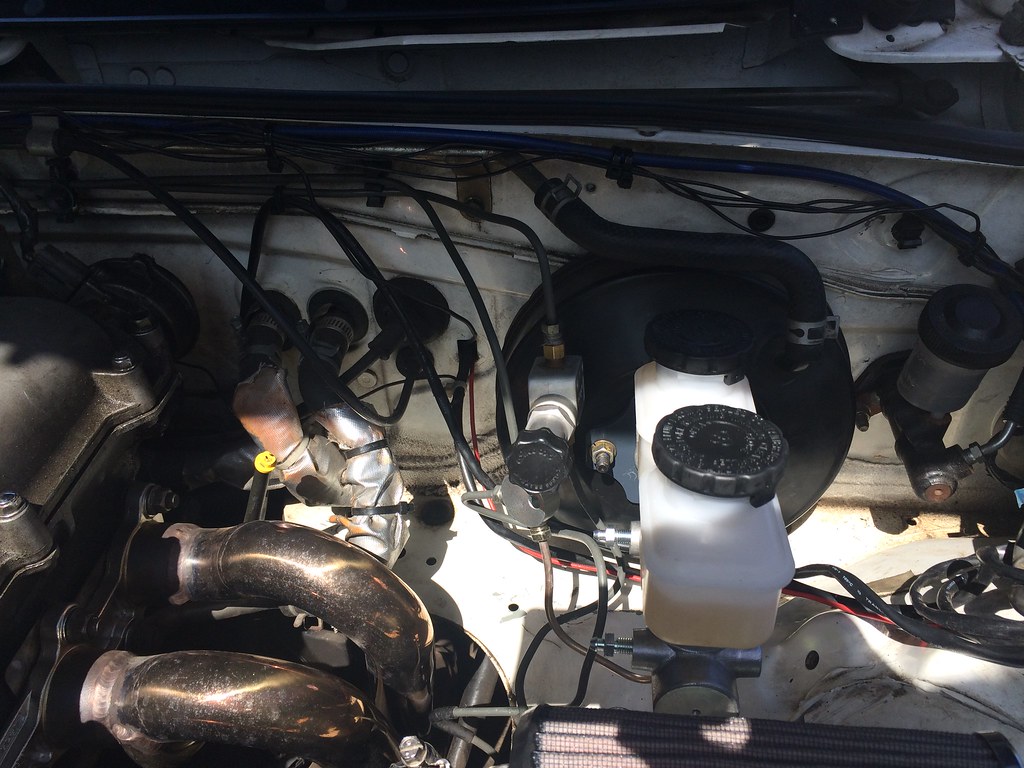
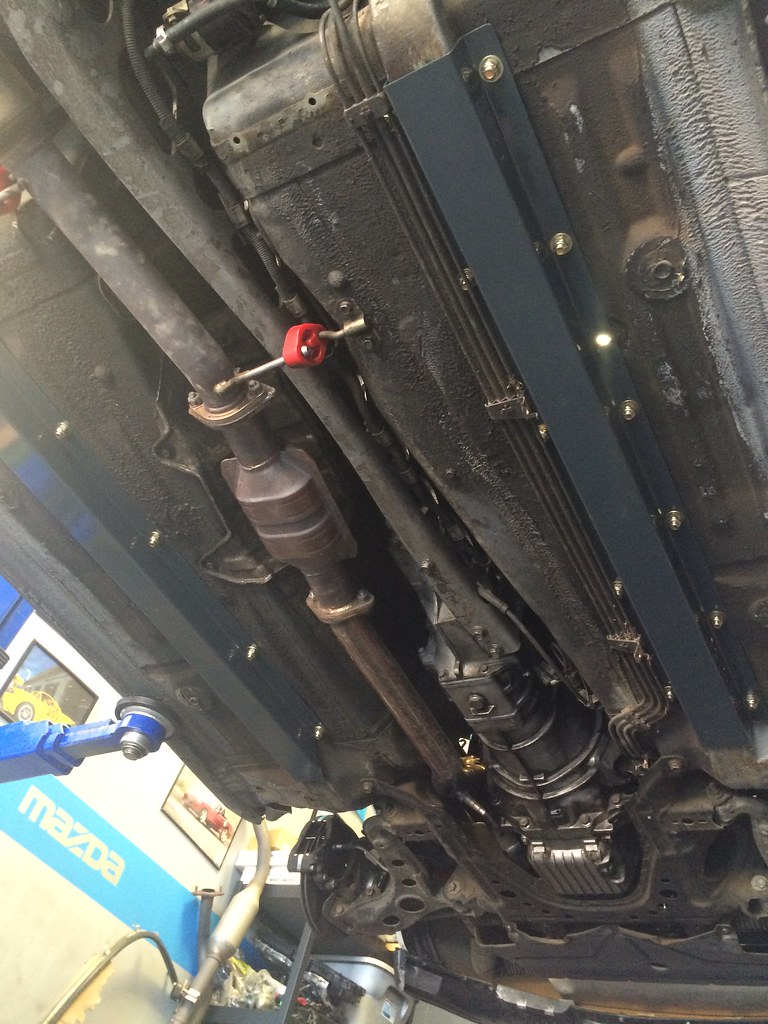
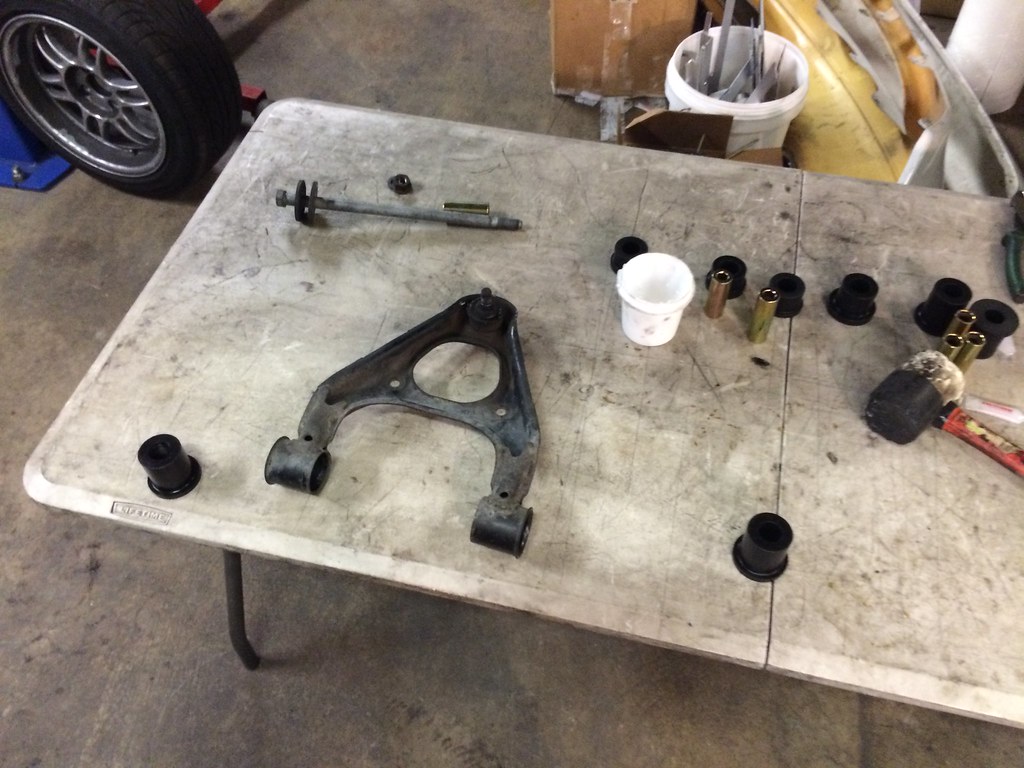
While Ryan worked on the splitter, I continued to install bushings. This is NOT a trivial job and without a press it is not worth attempting. While swapping the bushings, I also ordered all new alignment bolts. Super happy I did, nearly every one on the car was rounded out.
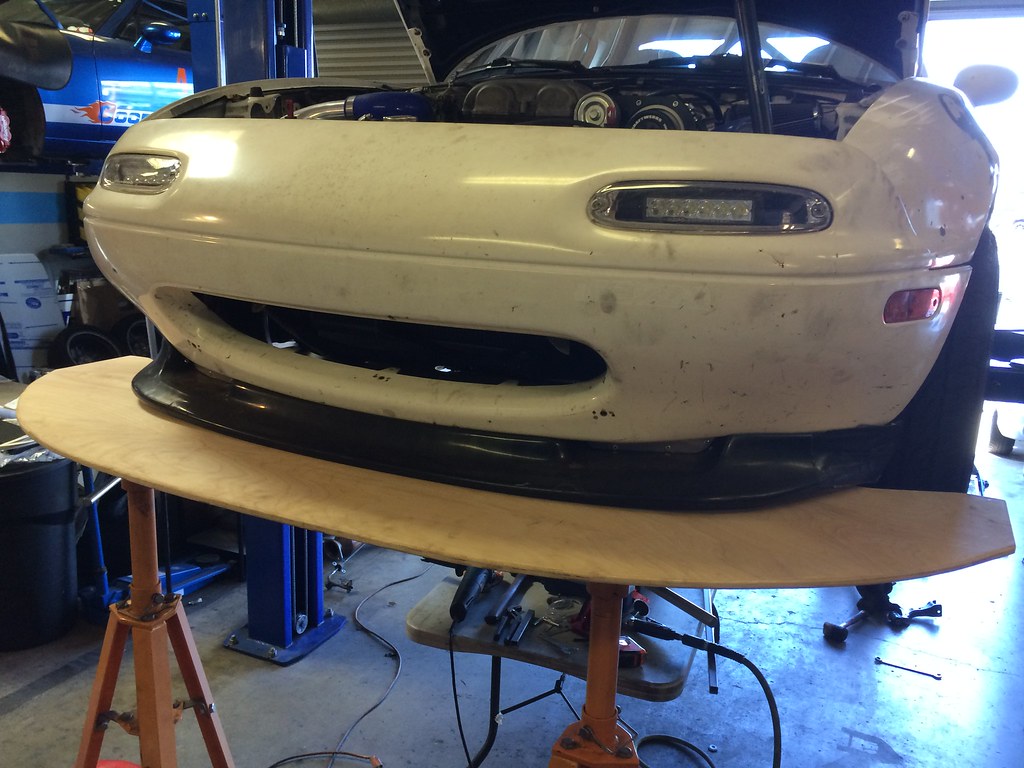
For fun, we threw the street bumper on and it surprisingly fit! However, for this project we are using a separate bumper, with EP air dam, and ducting. The goal is have modularity for the car. I can take the splitter/ducting off and quickly convert it to street use if I so choose. Despite the pure track focus, the car is absolutely awesome on the street.
With a wood splitter, it is important to seal it so oil can't soak in and cause a fire hazard. We used fiberglass from a local source and inexpensive resin. With this needing to dry over night, we called it for the first day with a total work time was 13.5 hours.
Day 2 started with only a few more bushings to go, all the ducting and the air dam! We knew it was going to be another long day.
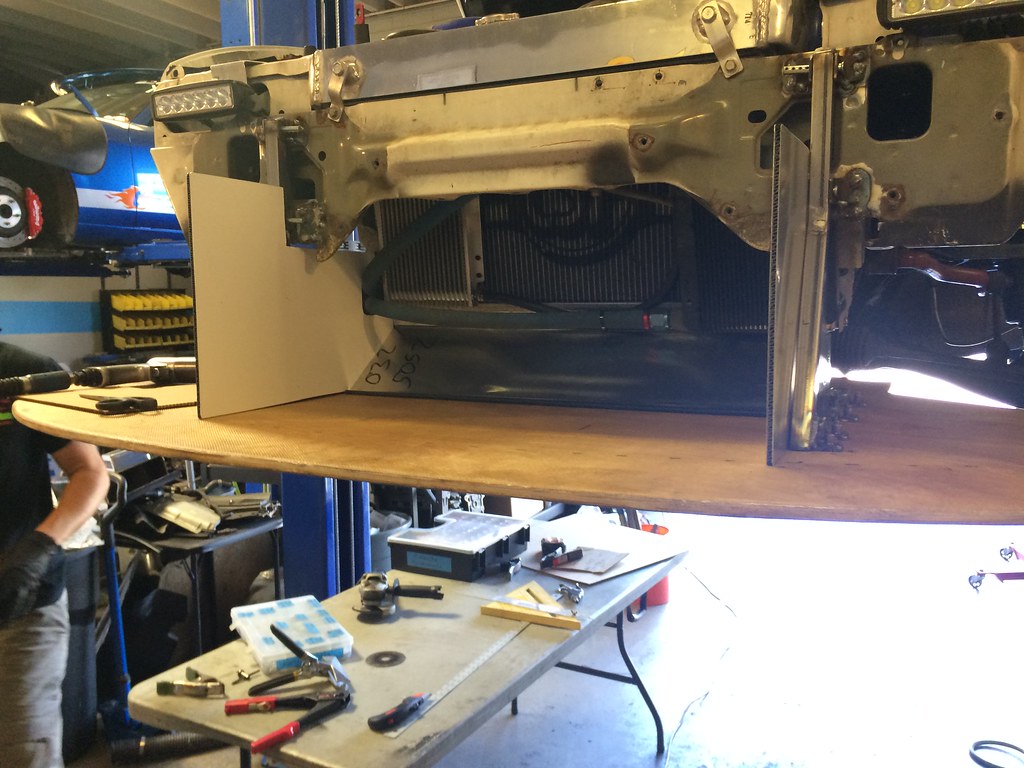
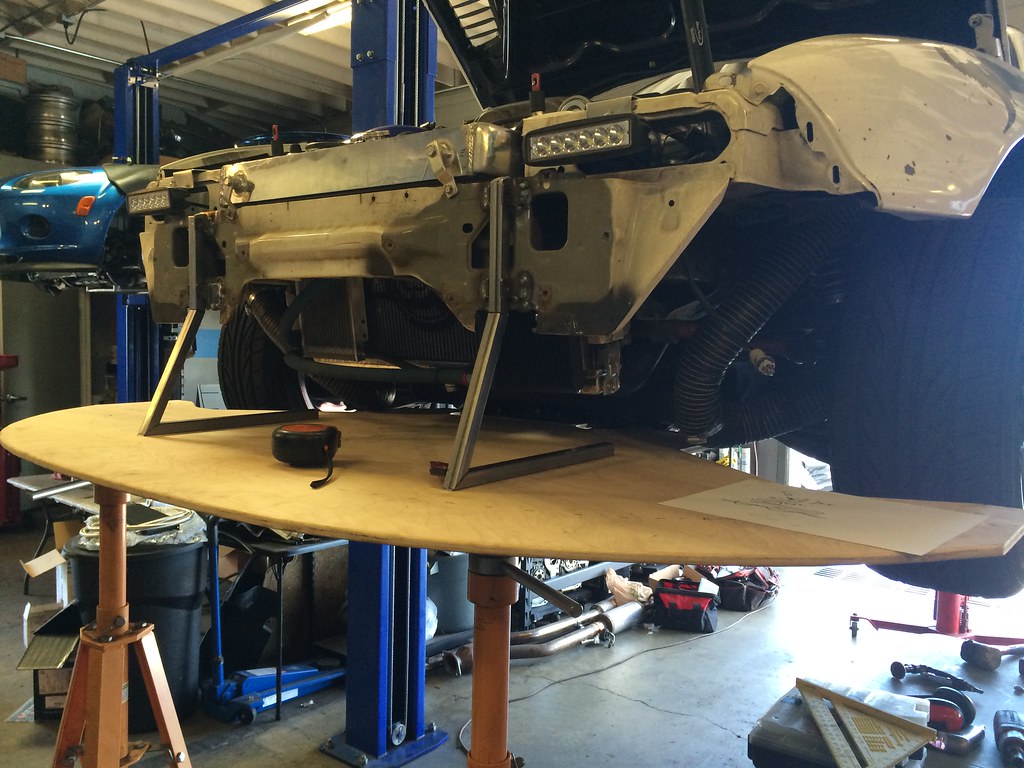
Many hours later the ducting was starting to come to shape. By building the ducting and fence for the air dam first, we are able to make the air dam fit much better against the duct.
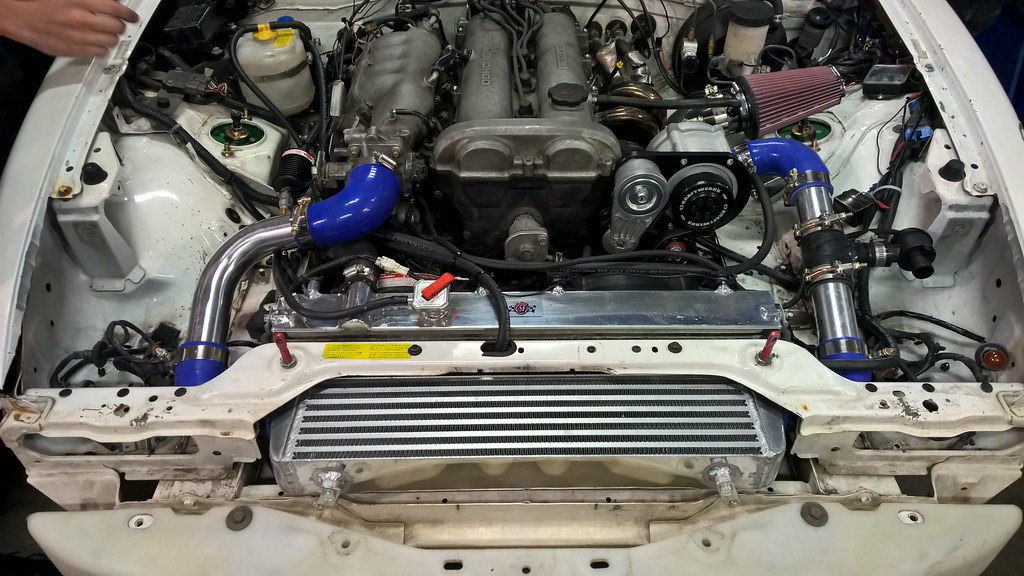
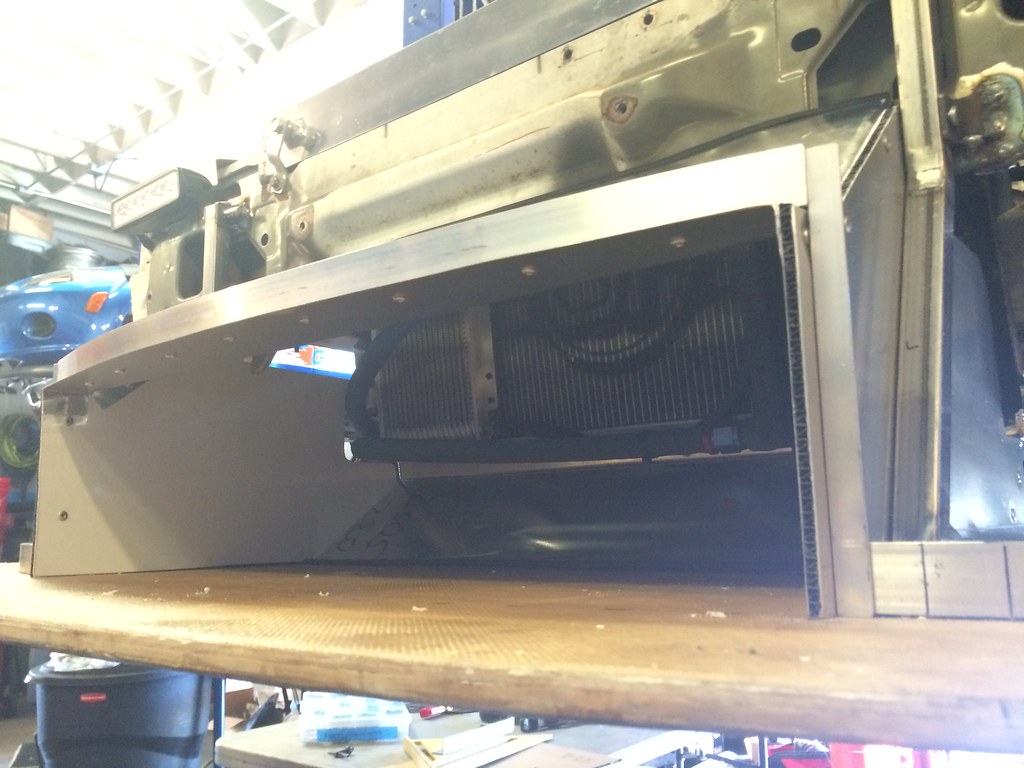
Inside the ducting, everything seals up perfectly. Anyone who runs forced induction at the track knows the importance of ducting to keep temperatures in check. The main portion of this ducting stays with this splitter! Two additional pieces were made to seal the walls up, but those stay on the car...keeping both the street ducting and track ducting sealed!
With the majority of the splitter/ducting complete, we moved to making the air dam. First we roughly cut the bumper and made a series of tedious measurements to determine where to cut everything.
We also made the mistake of not laying the plastic out in the sun, this made it a bit more difficult to work with. When riveting the plastic to the bumper, you must use back up washers with the plastic rivets so they do not rip through.
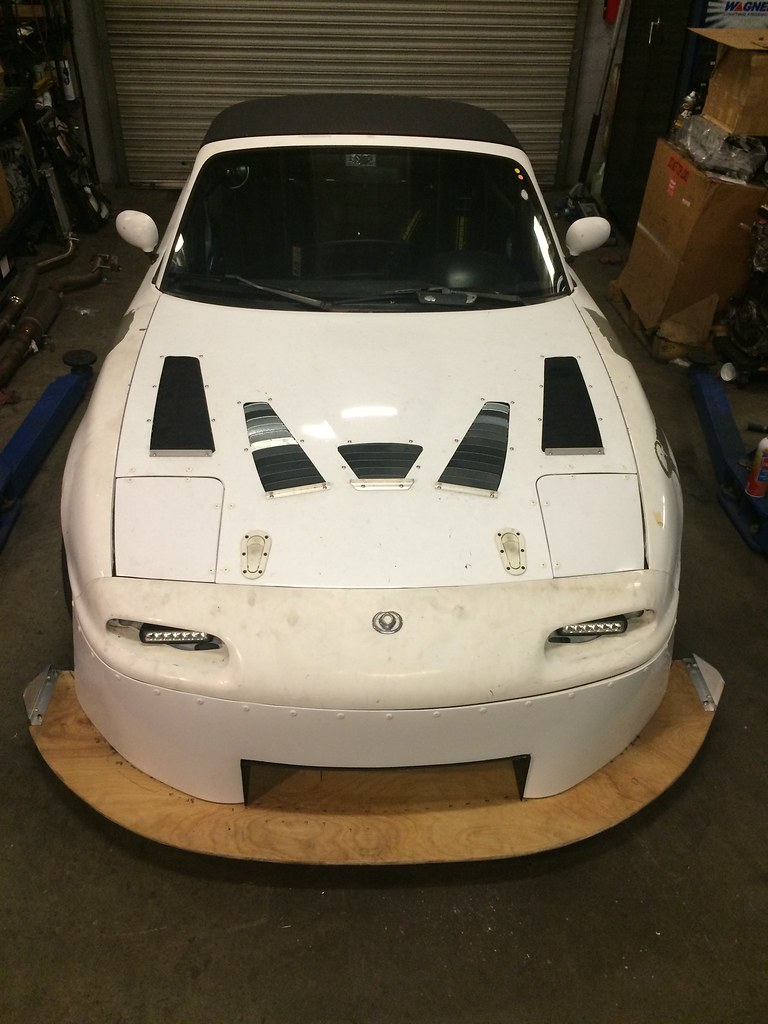
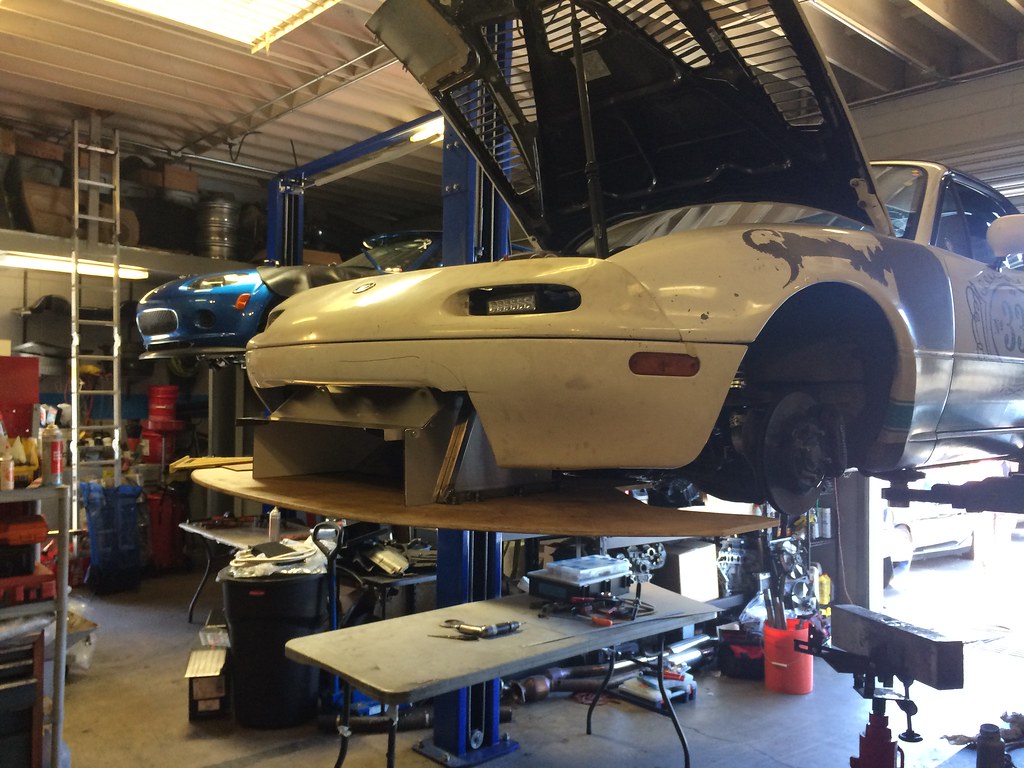
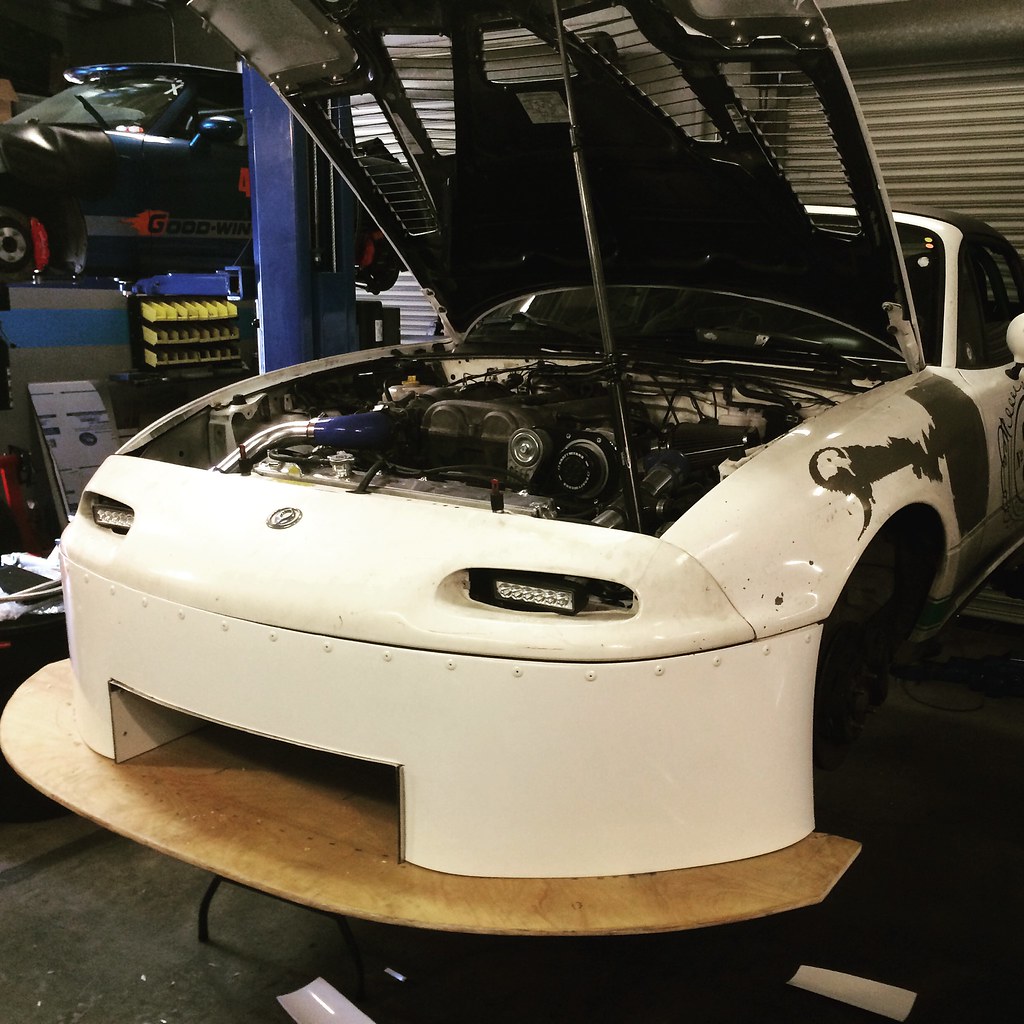
Here is a complete shot of the ducting and splitter. With the bumper on the car, it takes a total of 60 seconds to remove the bumper AND splitter! It also only takes 30 minutes to change the car from time attack use to street use.
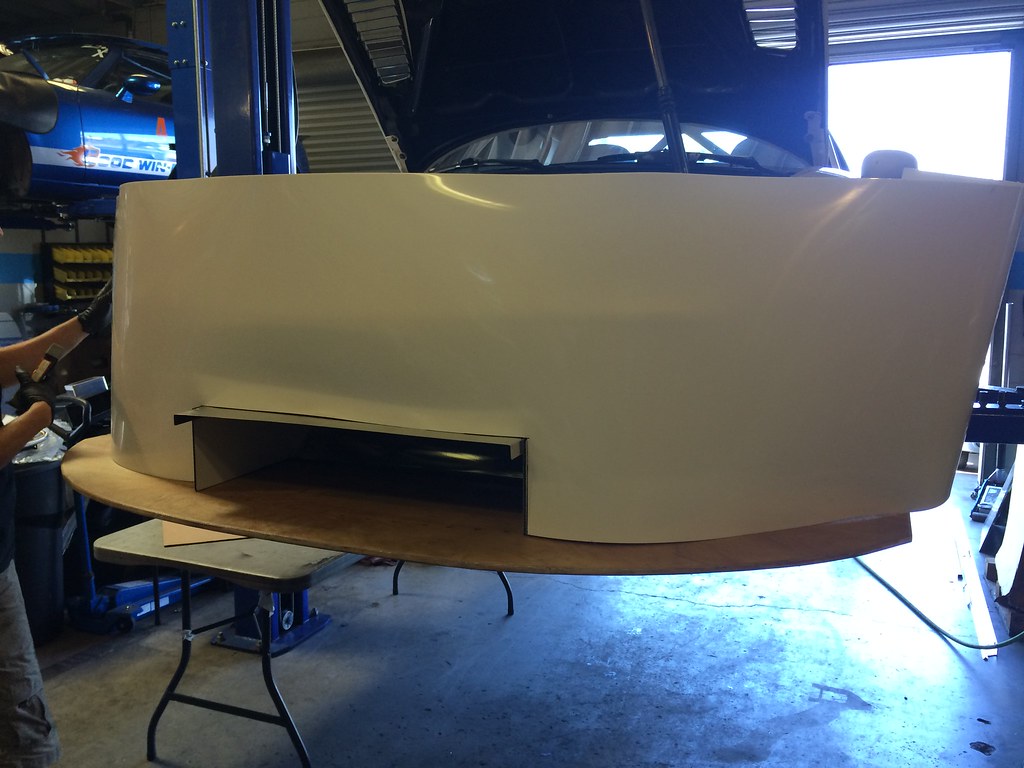
And finally, a complete shot of the air dam on the car! I'm a little biased but...this is by far one of my favorite iterations of the EP style air dam.
Overall, I couldn't be happier with the results. I finally have the front aero to match the GT-250 which will be going on the car very soon. The car is also even smoother after all new bushings, it's not every day a track car with 800lb front springs and smooth ride are said in the same sentence. Total time in the shop on Sunday was 15.5 hours! Huge thanks to Ryan for helping with all the fab this weekend, it was a brutal one.